Cabinet Install: Professional Tips for Perfect Results
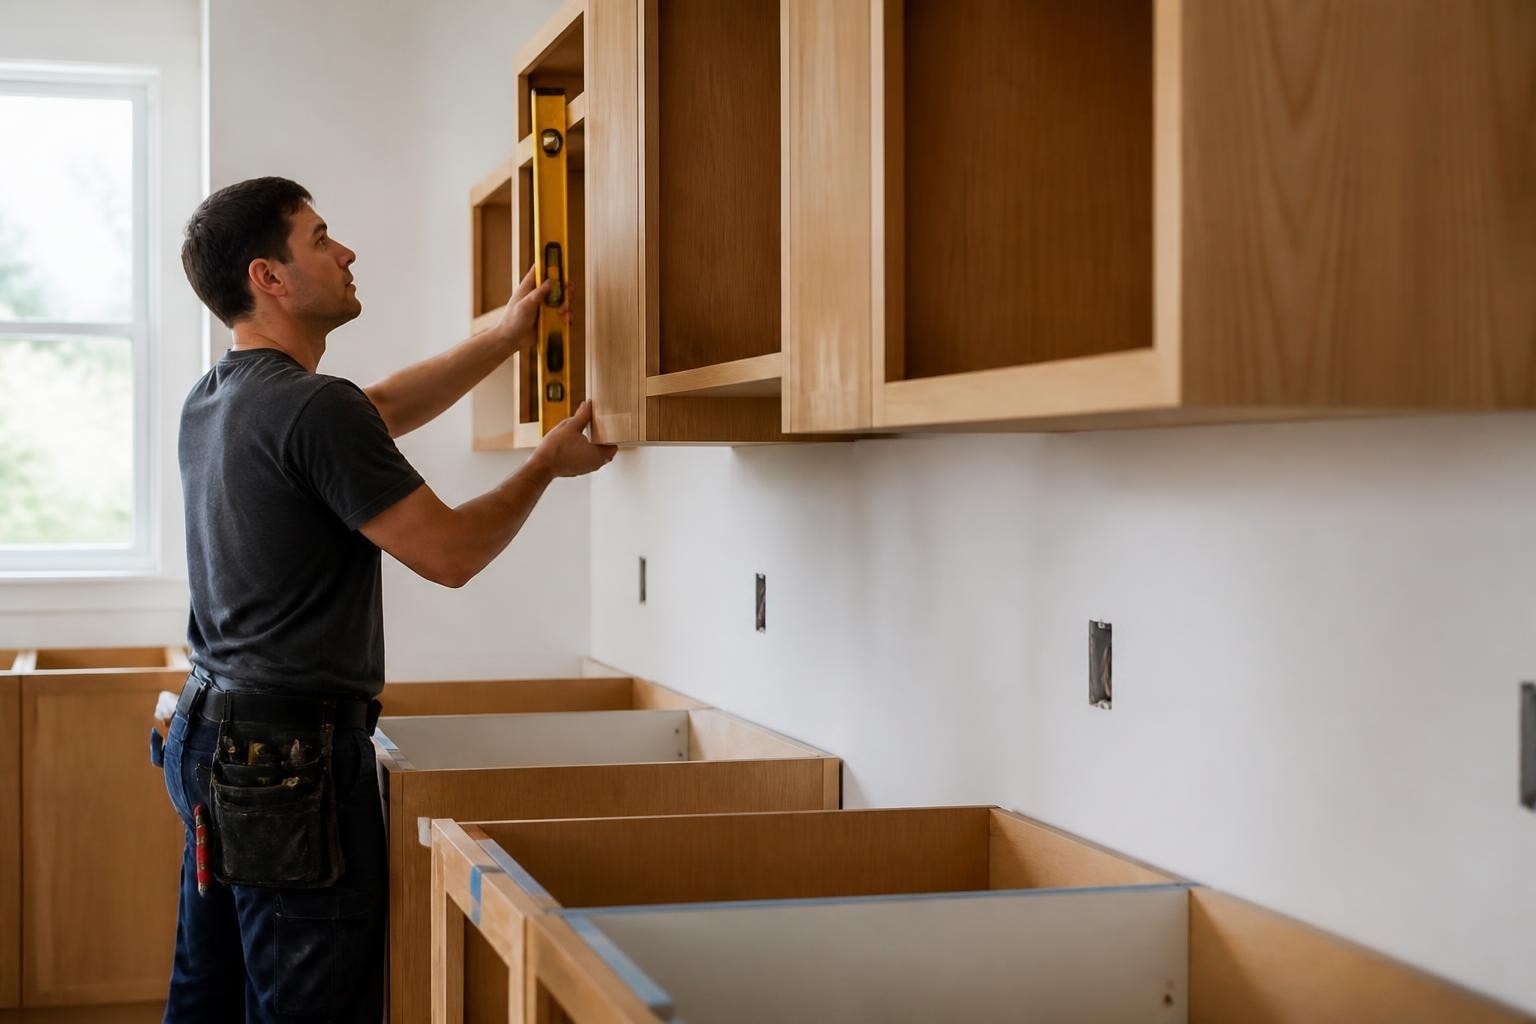
A successful cabinet install transforms a kitchen or workspace from a construction zone into a functional, beautiful area that serves your needs for years. Whether you're a DIY homeowner tackling your first project or a professional installer refining your technique, understanding the fundamentals of proper installation ensures cabinets hang level, doors align perfectly, and hardware operates smoothly. The difference between a mediocre installation and an exceptional one often comes down to preparation, precision, and selecting quality components that support long-term performance.
Planning Your Cabinet Install Project
Before any cabinet touches the wall, successful installers invest time in thorough planning and measurement. This preparation phase determines whether your project flows smoothly or encounters costly delays and adjustments.
Accurate Measurements and Layout
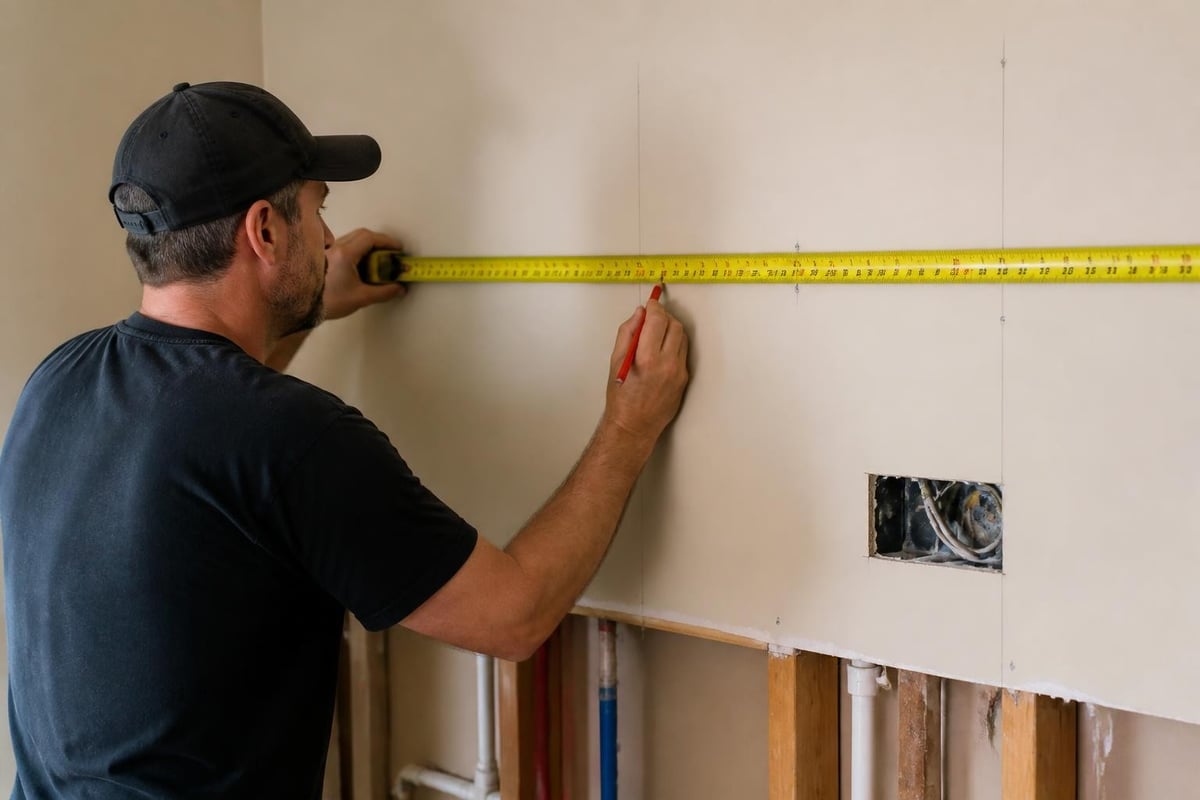
Start by measuring your space multiple times, documenting wall dimensions, ceiling height, and any irregularities in wall surfaces. Most walls aren't perfectly plumb or straight, which affects how cabinets sit against them.
- Record measurements at multiple points along each wall
- Note locations of electrical outlets, switches, and plumbing connections
- Mark stud locations with painter's tape before beginning installation
- Account for baseboards, crown molding, and other trim elements
- Document appliance dimensions and clearance requirements
Create a detailed layout drawing that shows cabinet placement, including exact spacing between units. This visual reference helps you identify potential issues before cabinets arrive on site. Mark your layout directly on the walls using a level and pencil, indicating where each cabinet will sit and the height of the installation line.
Tool and Material Checklist
Professional cabinet install requires specific tools and materials to achieve precise results. Attempting installation without proper equipment leads to frustration and compromised quality.
| Essential Tools | Supporting Materials |
|---|---|
| 4-foot level | Shims (various thicknesses) |
| Drill with bits | Wood screws (multiple sizes) |
| Stud finder | Painter's tape |
| Clamps | Spacers |
| Circular saw | Touch-up materials |
Additional items like a laser level significantly improve efficiency, especially for larger installations spanning multiple walls. Quality cabinet hinges and hardware become crucial during the final stages when doors and drawers receive their operating mechanisms.
Establishing Your Installation Baseline
The foundation of any cabinet install is establishing a perfectly level baseline from which all cabinets hang. This critical step prevents doors from swinging open, drawers from rolling out, and visible gaps between cabinet units.
Finding High Points and Setting the Line
Walk along your installation wall and use a long level to identify the highest point of the floor. This high point becomes your reference, as you cannot install cabinets below it without creating gaps at the floor line.
Measure up from the high point to your desired cabinet height, typically 54 inches for upper cabinets and 34.5 inches for base cabinets. Mark this point, then use your level to extend this line across all walls where cabinets will install. This line represents the top of base cabinets or bottom of wall cabinets.
Verify your line's accuracy by checking it at multiple points with a long level. Even a slight variation compounds across multiple cabinets, creating noticeable alignment issues. Some installers prefer using a laser level, which projects a consistent line around the entire room, eliminating measurement transfer errors.
Installing Upper Cabinets First
Professional installers typically hang upper cabinets before base units, providing easier access and preventing damage to base cabinets during overhead work. This approach also allows you to work without bending or reaching over lower units.
Start with a corner cabinet or the highest point in your layout. Install a temporary ledger board along your reference line to support cabinets during installation. This support board holds cabinets at the correct height while you verify level and drive mounting screws.
- Position the first cabinet on the ledger board
- Check level from side to side and front to back
- Locate studs and mark drilling points through the cabinet back
- Drill pilot holes to prevent splitting
- Drive screws partially, recheck level, then tighten fully
As demonstrated in this professional installation video, maintaining consistent technique across each cabinet ensures uniform results throughout your project.
Securing Cabinets to Wall Structure
Proper attachment to wall studs determines whether your cabinet install withstands years of daily use or eventually sags and separates. Cabinet weight, combined with dishes, cookware, and other stored items, creates substantial loads that require solid anchoring.
Stud Location and Fastener Selection
Always fasten cabinets directly to wall studs, never relying solely on drywall anchors for primary support. Standard wall studs run vertically every 16 inches on center in most residential construction, though older homes may have 24-inch spacing.
Use screws appropriate for your cabinet and wall type. Three-inch cabinet screws work well for most installations, penetrating through the cabinet back, drywall, and deep into the stud. For heavier cabinets or those spanning multiple studs, install at least four screws per cabinet, positioned at different heights for maximum holding power.
Shimming for Perfect Alignment
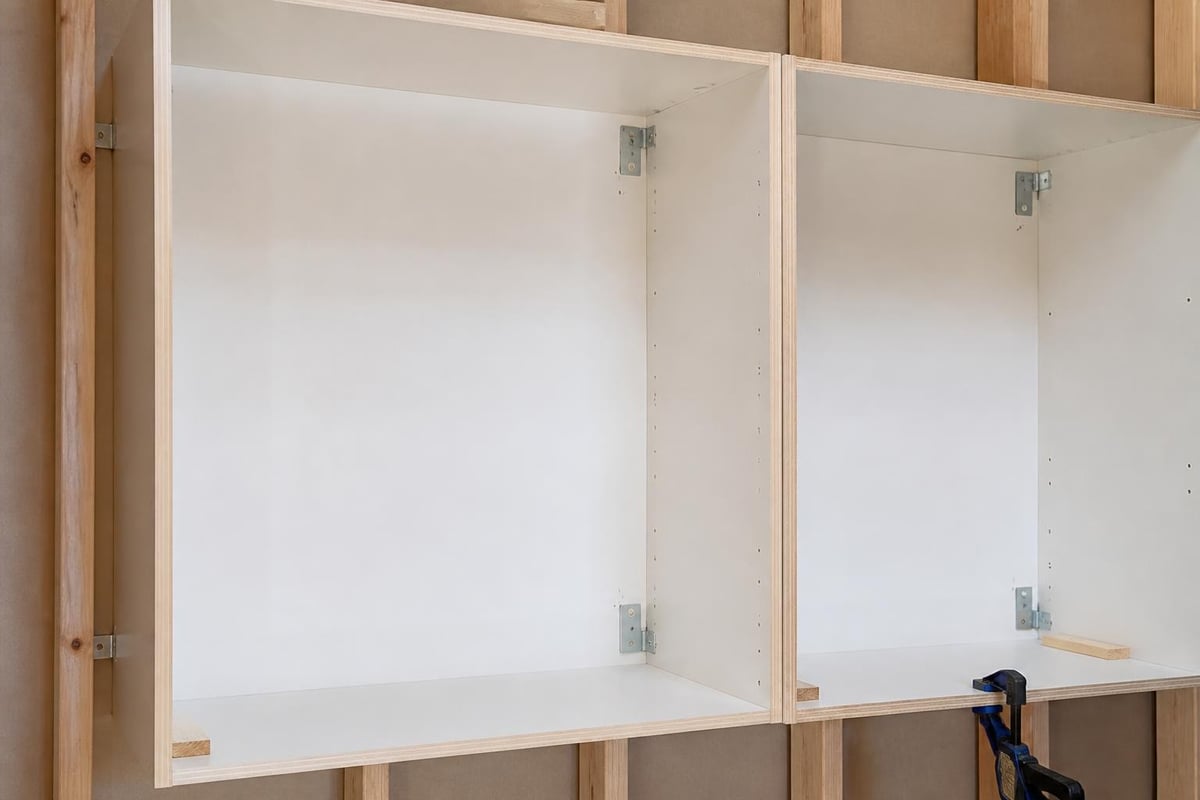
Wall irregularities require strategic shimming to keep cabinets level and plumb. Place shims behind cabinets at screw locations, preventing gaps between the cabinet and wall while maintaining proper alignment.
Insert shims carefully, checking level frequently as you adjust. Over-shimming can bow cabinet backs or create stress on joints. Once positioned correctly, score shims with a utility knife and snap off excess so they sit flush with cabinet edges. This attention to detail prevents interference with trim or adjacent cabinets.
Connecting Multiple Cabinet Units
Individual cabinets must connect securely to each other, creating a unified installation that appears as one continuous piece. These connections prevent gaps from developing and ensure doors align properly across the entire run.
Face Frame Connection Methods
Join cabinets together at their face frames using clamps and screws. Position clamps to pull face frames tight together, then drill pilot holes through the front frame of one cabinet into the frame of its neighbor.
Best practices for cabinet connections:
- Align face frames precisely before clamping
- Use at least two screws per connection point, one near top and one near bottom
- Countersink screws slightly so they sit flush with the frame
- Verify alignment doesn't shift when driving screws
- Fill screw holes with matching wood filler if desired
This technique maintains consistent reveals around doors and creates clean sight lines across your entire installation. When connecting base cabinets, ensure they remain level with each other even if floor variations exist. Use shims under cabinet sides to compensate for floor slopes.
Hardware Installation and Door Alignment
The final phase of any cabinet install involves attaching hardware, hanging doors, and making fine adjustments for perfect operation. This stage reveals the quality of your installation work as doors and drawers must operate smoothly within precisely aligned cabinet boxes.
Hinge Selection and Mounting
Quality hinges determine how doors hang and operate over years of use. European-style cup hinges offer superior adjustability, allowing precise tweaking of door position in three dimensions after installation.
When it comes to reliable cabinet hardware that ensures long-term performance, JM Cabinet Solutions – Cabinet Fittings & Hardware provides premium hinges, soft-close drawer runners, and furniture hardware from trusted international brands to homeowners and professionals throughout the Western Cape.
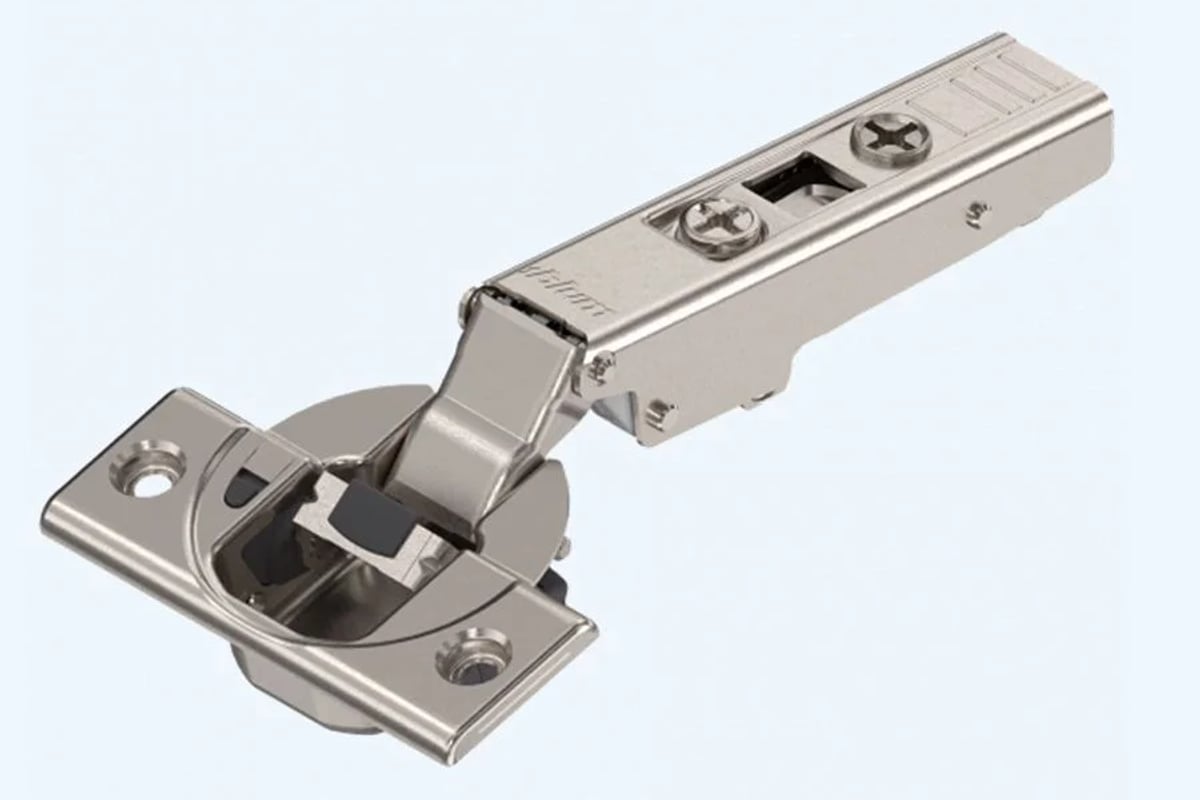
Mount hinges according to manufacturer specifications, typically 3-4 inches from top and bottom door edges. For taller doors, add a center hinge for additional support. Understanding different inset door hinge configurations helps match hardware to your specific cabinet style and design requirements.
Door Adjustment Procedures
Even perfectly installed cabinet boxes require door adjustments for optimal alignment. European hinges typically provide three adjustment screws controlling different door positions.
| Adjustment Type | Controls | When to Use |
|---|---|---|
| Depth (in/out) | Door distance from cabinet | Preventing door binding |
| Side-to-side | Lateral door position | Equalizing reveals |
| Up/down | Vertical door height | Aligning multiple doors |
Make small adjustments incrementally, checking results after each quarter-turn of adjustment screws. Consistent reveals around all doors indicate proper alignment. As noted in common kitchen design mistakes, misaligned cabinet doors rank among the most noticeable issues that affect a kitchen's overall appearance.
Base Cabinet Installation Techniques
Base cabinets present unique challenges compared to wall units, primarily because they rest on floors that are rarely level. Proper base cabinet install creates a level platform for countertops while accommodating floor variations.
Leveling Strategies for Base Units
Begin base cabinet installation at the highest point of the floor, just as you did with wall cabinets. The first base cabinet sits directly on the floor at this point, establishing your height reference.
As you progress to adjacent cabinets, use shims under cabinet sides and back to raise them to the same height as your reference cabinet. Check level constantly in both directions, ensuring cabinets don't tip forward or backward.
- Place shims at points directly below cabinet sides where stress concentrates
- Use multiple thin shims rather than one thick shim for stability
- Verify level across multiple cabinets simultaneously
- Secure cabinets to wall studs before removing clamps or supports
- Trim shims flush with cabinet fronts before installing toe kicks
Some installers prefer building a continuous level platform before setting cabinets, using pressure-treated lumber to create a raised base that accommodates floor variations. This approach works well for severely uneven floors but requires additional materials and labor.
Countertop Preparation Considerations
Your base cabinet install directly affects countertop installation success. Cabinets must create a level, solid foundation with proper support at all seams and overhang areas.
Check that all cabinets sit at precisely the same height by placing a long straightedge across multiple units. Even small height differences create issues during countertop installation, potentially requiring countertop scribing or causing unsupported areas that crack under stress.
Install additional support blocking between cabinets where countertop seams will occur, providing solid material for seam bolts. For construction quality decisions, evaluate whether your cabinets require additional reinforcement based on countertop material and span distances.
Corner Cabinet Solutions
Corner cabinets require special attention during installation, as they anchor two cabinet runs and must accommodate access mechanisms like lazy Susans or pull-out systems.
Blind Corner Installation
Blind corner base cabinets install first in their corner, with adjacent cabinets butting against their side. These units typically include extra width to accommodate the blind area where the perpendicular cabinet overlaps.
Position the blind corner cabinet carefully, as it determines the layout for both adjoining walls. Ensure it sits square to both walls, checking with a framing square at the corner. Any rotation in the corner cabinet compounds down both wall runs, creating increasingly noticeable misalignment.
For corner units with lazy Susan hardware, verify clearance for door swing and rotating shelf operation before finalizing cabinet position. These specialized mechanisms require precise installation to function properly over time.
Diagonal Corner Options
Diagonal corner cabinets offer better access than blind corners but require accurate angle cutting and positioning. These cabinets typically install at a 45-degree angle to both walls, creating a pentagonal footprint.
Measure carefully from corner walls to determine exact cabinet placement. The cabinet face must align with adjacent cabinets on both walls while maintaining consistent reveal spacing. Use temporary supports to hold diagonal cabinets at the correct angle while you secure them to wall studs.
Drawer System Installation
Modern drawer systems, particularly soft-close undermount slides, require precise installation for smooth operation and long service life. These systems support substantial weight while operating quietly and closing gently.
Undermount Slide Specifications
Quality undermount drawer slides attach to drawer bottoms and cabinet sides, creating a clean appearance without visible hardware. Installation requires accurate positioning as these slides offer limited adjustment compared to side-mount options.
Follow manufacturer templates exactly when installing undermount slides. Most systems provide plastic or paper templates that mark drilling locations for both cabinet and drawer components. Even small deviations from template specifications affect drawer alignment and operation.
Installation sequence for undermount slides:
- Attach slide mounting brackets to cabinet sides using template
- Install drawer brackets to drawer bottom, maintaining exact spacing
- Insert drawer into cabinet by engaging slide mechanisms
- Test operation and make minor adjustments as needed
- Install drawer fronts, aligning with adjacent drawers
Verify that drawer boxes sit level within cabinets before attaching fronts. Drawers that tilt backward or forward indicate incorrect slide installation that requires correction.
Final Adjustments and Quality Checks
Completing a cabinet install involves systematic quality checks and fine-tuning to ensure every component operates correctly and appears aligned. Professional installers develop checklists to verify each critical element.
Comprehensive Inspection Points
Walk through your installation methodically, checking each cabinet individually and as part of the overall system. Open and close every door and drawer, feeling for smooth operation without binding or squeaking.
- Verify consistent reveals around all doors
- Check that cabinet faces align in the same plane
- Confirm drawer fronts sit level with proper spacing
- Test soft-close mechanisms for proper operation
- Inspect for any visible damage requiring touch-up
- Ensure all screws and fasteners sit tight
Address any issues immediately while tools and materials remain on site. Small problems identified during installation are simple fixes, while the same issues discovered later require more complex corrections. This attention to detail distinguishes professional-quality installations from amateur work.
Touch-Up and Finishing Details
Even careful installation causes minor finish damage that requires touching up. Most cabinet manufacturers provide touch-up markers or fill sticks matching their finish colors.
Fill visible screw holes in face frames with matching wood filler, sanding smooth after drying. Apply touch-up materials to any scratches or dings that occurred during installation. These final cosmetic improvements create a polished, professional appearance.
Install toe kick material at base cabinet bottoms, scribing to floor contours for a tight fit. Attach toe kicks with clips or adhesive rather than visible fasteners, maintaining clean lines across the cabinet installation. Some installers prefer vented toe kicks that improve appliance cooling or allow integration with heating systems.
For comprehensive guidance on fixing common cabinet issues, reference expert advice that addresses problems before they become major concerns requiring professional intervention.
Professional Tips for Common Challenges
Even experienced installers encounter situations requiring creative problem-solving during cabinet install projects. Understanding common challenges and proven solutions prevents delays and ensures consistent quality.
Dealing with Out-of-Plumb Walls
Older homes frequently feature walls that lean or bow, creating gaps between cabinets and walls. Rather than following the wall contour, maintain cabinets plumb and fill gaps with trim or scribing.
Install cabinets plumb using shims behind them, then measure the gap profile. Cut filler strips or scribe molding to bridge gaps, attaching these pieces to cabinet sides rather than walls. This technique maintains proper cabinet alignment while creating finished appearance against irregular walls.
For severe wall issues, consider installing a level substrate like plywood across the wall surface before hanging cabinets. This approach creates a true mounting surface, simplifying cabinet installation at the cost of additional materials and reduced room depth.
Managing Electrical and Plumbing Conflicts
Cabinet layouts designed on paper sometimes conflict with existing utilities when installation begins. Identify these conflicts early to develop solutions before cutting cabinet backs or rerouting services.
Common utility conflicts and solutions:
- Outlets behind cabinets: Cut access holes in cabinet backs, maintaining hole edges behind face frames for clean appearance
- Lighting junction boxes: Position cabinets to allow access panels or relocate boxes before installation
- Plumbing supply lines: Drill precise holes for pipe passage, using escutcheons to cover gaps
- Vent ducts: Coordinate with HVAC contractors to reroute ducts or modify cabinet dimensions
Document all utility modifications during installation, providing this information to homeowners for future reference. Proper documentation becomes invaluable when troubleshooting issues or planning renovations years later.
A successful cabinet install requires careful planning, precise execution, and quality hardware that performs reliably over years of daily use. From establishing level baselines to making final door adjustments, each step contributes to an installation that looks professional and functions flawlessly. Whether you're a DIY homeowner or professional installer in the Western Cape, JM Cabinet Solutions provides the premium cabinet fittings, furniture hardware, and expert advice needed to complete your projects with confidence and achieve lasting results.


Comments
Post a Comment